|
| Footprints in the first snowfall |
This winter season is really throwing me for a loop this year. I was anticipating heavy snow, bone-chilling temperatures and a battle between us and mother nature. So far, we had one soft snowy day and it did not even stick to the ground. Don't get me wrong, I am totally happy not having to shovel my car out of the snow, but I was prepared to help our little hens tackle the winter.
This is our first winter with the girls and so I wanted to make sure we were ready for the challenge. I did a lot of research in preparation of the colder months to understand the do's and don'ts for chicken keeping.

Chickens are known for not being huge fans of snow. When we did have the one day of light snow fall the girls went outside and looked a little confused. They kept picking their tiny feet up and pecking the ground trying to understand what this cold white stuff was. Since we have been lucky without having a large amount of snow yet we haven't had to worry about the run as much. A few ideas of what to do when it does snow is you can cover the snow with some straw for the chickens to walk on. If the snow becomes deep, you will probably have to shovel an area for them to peck around and free range. If you have a smaller run, I have read other owners covered their run with a tarp to keep the snow off the ground. Our run is more of a larger fenced in area so we will be picking up our shovels and make a path for the ladies.
Our coop is pretty much squared away since we are already doing the deep little method that adds extra insulation to keep the hens warm. You will want to make sure there is no draft in the coop. Chickens are able to sustain pretty cold temperatures by huddling together. It is easier for them to get warm in the winter with their natural down coats than to cool down in the summer. However, too much wind can cause the chickens to get frostbite and sick. If the wind is too much in the coop you can tarp the outside. It is important to make sure your coop has great ventilation since the hens might spend some more time inside than they normally do. If you see a build up of condensation on your coop windows, that means you do not have enough ventilation and need to come up with a way to get better air circulation.

Water is the enemy in colder months. It is sort of a catch twenty-two when it comes to water. You need to keep the coop as dry as possible to keep the hens healthy, yet you need to make sure the hens always have access to drinking water. The reason being, hens consume more food in the winter to keep their bodies warm and in turn drink more water. Water freezes. You can get a heated bowl that plugs in and keep the water at an above freezing temperature. Or you can make several trips from the inside to the outside changing out the frozen water for fresh water. (which we have been doing since the temps have been above freezing most nights). Another idea I read about is placing a ping pong ball in the water to keep the water in constant motion to prevent freezing. I have not tried that one yet!
It is not recommended to insulate your coop. This can cause humidity and ammonia levels to increase which can cause your hens to become ill. If you purchase hearty birds they are built to handle colder temperatures. The only thing I would keep an eye on is their feet, wattles and combs to make sure they are not getting frostbite. These are areas of their bodies where they release heat. Our White Leghorns have larger combs so they are more susceptible to frostbite than our other hens since the combs are farther away from their bodies. To be proactive in preventing frostbit you can put petroleum jelly on these body parts to give them a layer of protection.
Do not be surprised if your egg production decreases a little bit. The hens go through an adjustment with the season changes and sometimes they do not lay as frequently. They are getting use to temperature changes and the fact that in the winter it gets darker earlier. Hens usually need 12 hours of daylight to lay productively. Some owners place supplemental light in the coop to keep production up. We decided we are not going to do that only because we are not dependent on having the large volume of eggs. They will lay when they lay! Also, you will want to collect your eggs more frequently to prevent them from freezing. Adding straw to the egg boxes helps for a little bit of extra insulation. Lastly, the hens wanted to celebrate the holiday season too so we added some lights to the outside of the coop! We turn them off at "bed time" so they can get some rest. It is a fun and festive way to jazz up the outside of the coop.
Happy Holidays and Merry Christmas!!


 Now I cannot complain too much because this winter so
far has been relatively mild. However, we have had some freezing temperatures
which led to frozen water in the coop. As I have mentioned in previous posts,
water is essential to the hens health especially in the winter because they are
consuming more food to keep warm hence they drink more water. We would have to
break the ice up or dump it out and pour fresh water in. It was okay at first,
but if the water in the bowl was frozen then that usually means the water in
the hose was also frozen. Not the easiest task to accomplish. We would have to go inside the house
fill up the waterer and bring it back out, sometimes multiple times a day
depending on the weather. I really did not mind doing this for the little
ladies but it was becoming quite the chore.
Now I cannot complain too much because this winter so
far has been relatively mild. However, we have had some freezing temperatures
which led to frozen water in the coop. As I have mentioned in previous posts,
water is essential to the hens health especially in the winter because they are
consuming more food to keep warm hence they drink more water. We would have to
break the ice up or dump it out and pour fresh water in. It was okay at first,
but if the water in the bowl was frozen then that usually means the water in
the hose was also frozen. Not the easiest task to accomplish. We would have to go inside the house
fill up the waterer and bring it back out, sometimes multiple times a day
depending on the weather. I really did not mind doing this for the little
ladies but it was becoming quite the chore. 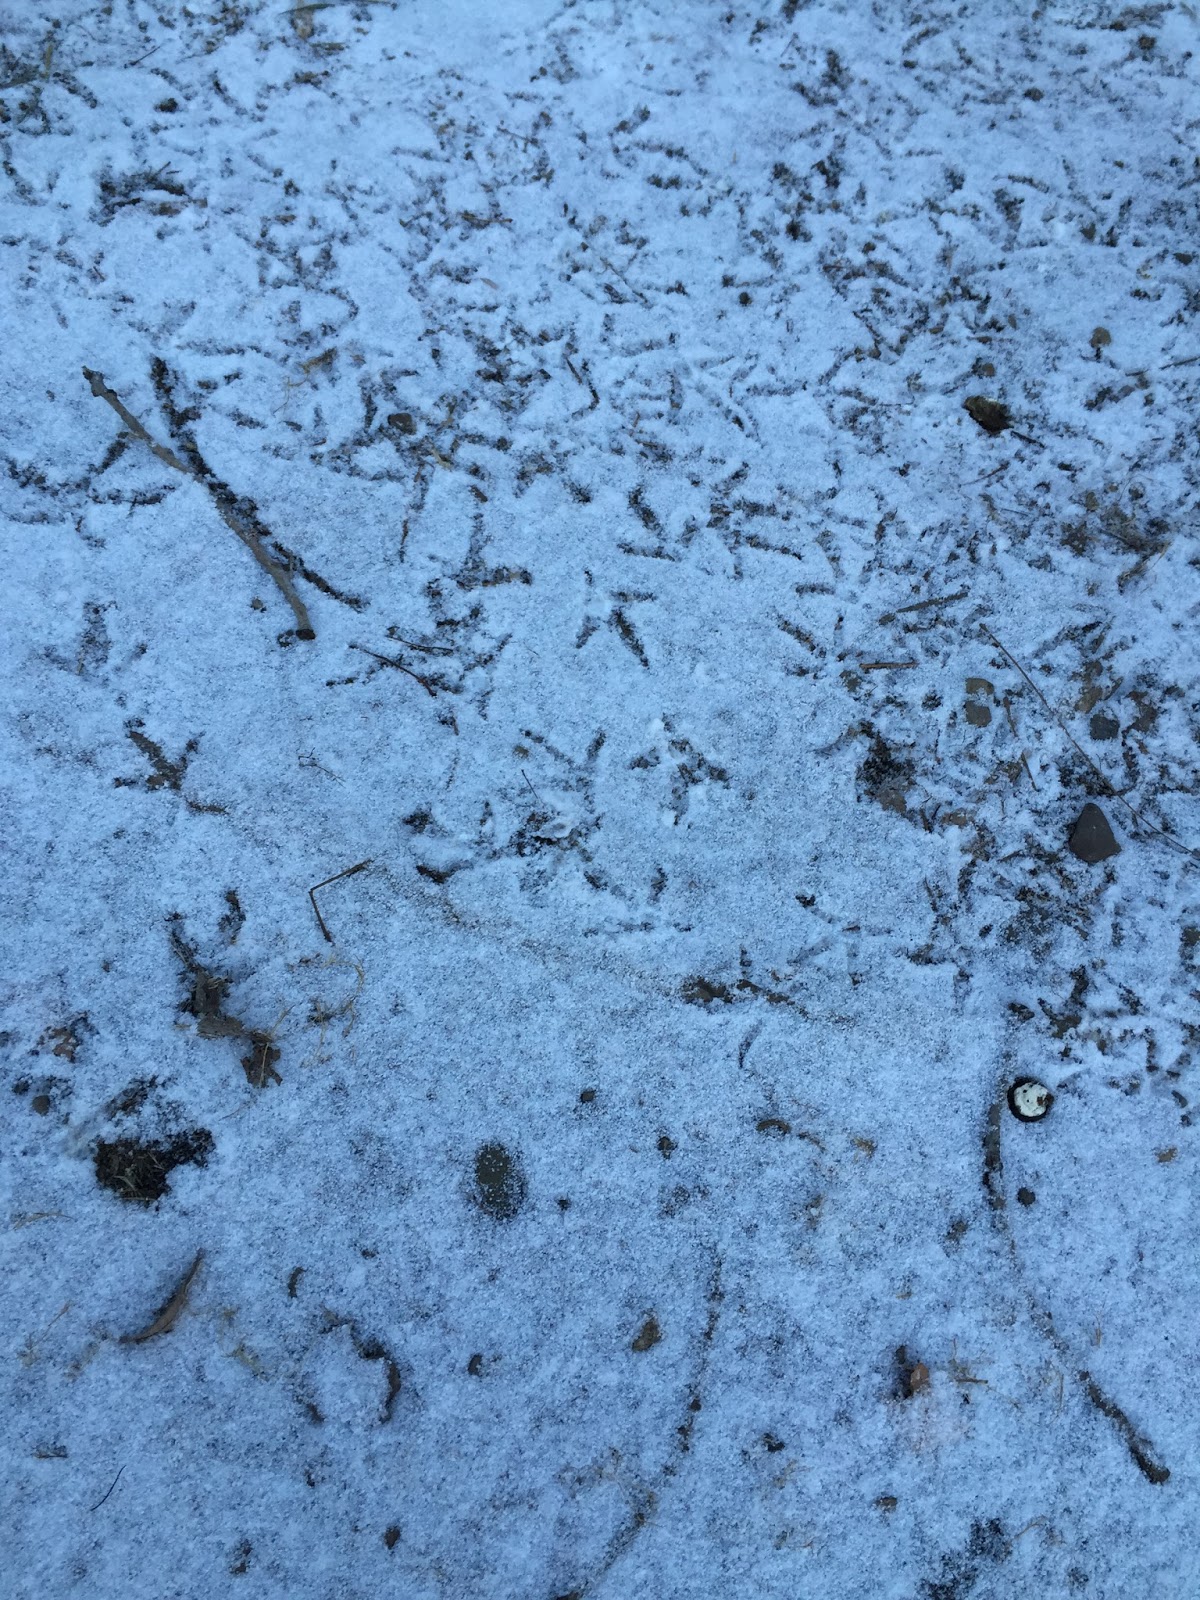
 Chickens are known for not being huge fans of snow. When we did have the one day of light snow fall the girls went outside and looked a little confused. They kept picking their tiny feet up and pecking the ground trying to understand what this cold white stuff was. Since we have been lucky without having a large amount of snow yet we haven't had to worry about the run as much. A few ideas of what to do when it does snow is you can cover the snow with some straw for the chickens to walk on. If the snow becomes deep, you will probably have to shovel an area for them to peck around and free range. If you have a smaller run, I have read other owners covered their run with a tarp to keep the snow off the ground. Our run is more of a larger fenced in area so we will be picking up our shovels and make a path for the ladies.
 Water is the enemy in colder months. It is sort of a catch twenty-two when it comes to water. You need to keep the coop as dry as possible to keep the hens healthy, yet you need to make sure the hens always have access to drinking water. The reason being, hens consume more food in the winter to keep their bodies warm and in turn drink more water. Water freezes. You can get a heated bowl that plugs in and keep the water at an above freezing temperature. Or you can make several trips from the inside to the outside changing out the frozen water for fresh water. (which we have been doing since the temps have been above freezing most nights). Another idea I read about is placing a ping pong ball in the water to keep the water in constant motion to prevent freezing. I have not tried that one yet!


 At first, Cory and I were fine with this because they always found their way back to the coop at dusk. We would leave them out for a while when we ran errands so they were free ranging for most of the day which they enjoyed. This was all until I encountered the fox and we realized they were getting into things that they should not be. For example, they loved laying and eating all of the flowers out of the flower pots I had put together. Which I was not very fond of! Haha. We decided it was time for fencing. Our goal was to create an area around the coop that was large enough for the chickens to range in. With that in mind, right now since we are around the house when they are outside we were not building a fence to keep predators out but more to keep the chickens in. Eventually, we will develop our fencing more with bird netting etc. to keep predators out but we wanted to create a basic fencing foundation first.
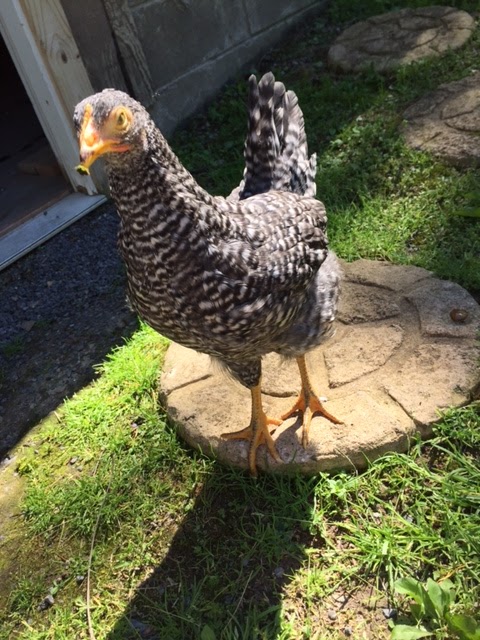
 There are three chickens that I like to refer to as the three amigos; Betty, Luna and Dumpling. They are always the three that break out of the coop area to go roam around the rest of the yard. They never seems to want to follow the rules! Haha. No matter how many barriers we tried to create they always managed to find a way out. However, now that we have the official fencing up they have been staying all together which has helped lower our anxiety levels and puts our minds at ease. Knowing they are safer while they are outside is a great benefit to building the fencing!